1. Travel Trailers vs. Fifth Wheels: What’s the Difference?
When it comes to RVing, two of the most popular options are travel trailers and fifth wheels. While they both offer a mobile home on wheels, there are some key differences to consider.
- Towing: Travel trailers are towed behind a vehicle using a hitch, while fifth wheels connect directly to the bed of a pickup truck. This means fifth wheels offer better maneuverability and stability, especially in windy conditions.
- Size: Fifth wheels tend to be larger than travel trailers, making them a good choice for families or those who prefer more space.
- Weight: Fifth wheels are generally heavier than travel trailers, so you’ll need a larger tow vehicle.
2. Connecting and Disconnecting Power
Both travel trailers and fifth wheels require electricity to power their appliances and lights. The connection process is similar, involving plugging the RV’s power cord into a campsite’s electrical outlet. However, there are different types of electrical outlets at campgrounds, so it’s important to ensure your RV is compatible.
3. Airstreams: Timeless Classics
Airstreams are iconic travel trailers known for their sleek, aerodynamic design and durability. These RVs are often passed down through generations, as they are built to last.
4. Airstream Dealerships: A Limited Supply
Unlike other RV brands, Airstream dealerships are not as widespread. In fact, there may only be one Airstream dealer in a particular state. This limited availability can make it challenging to find a new or used Airstream, but it also adds to their exclusivity.
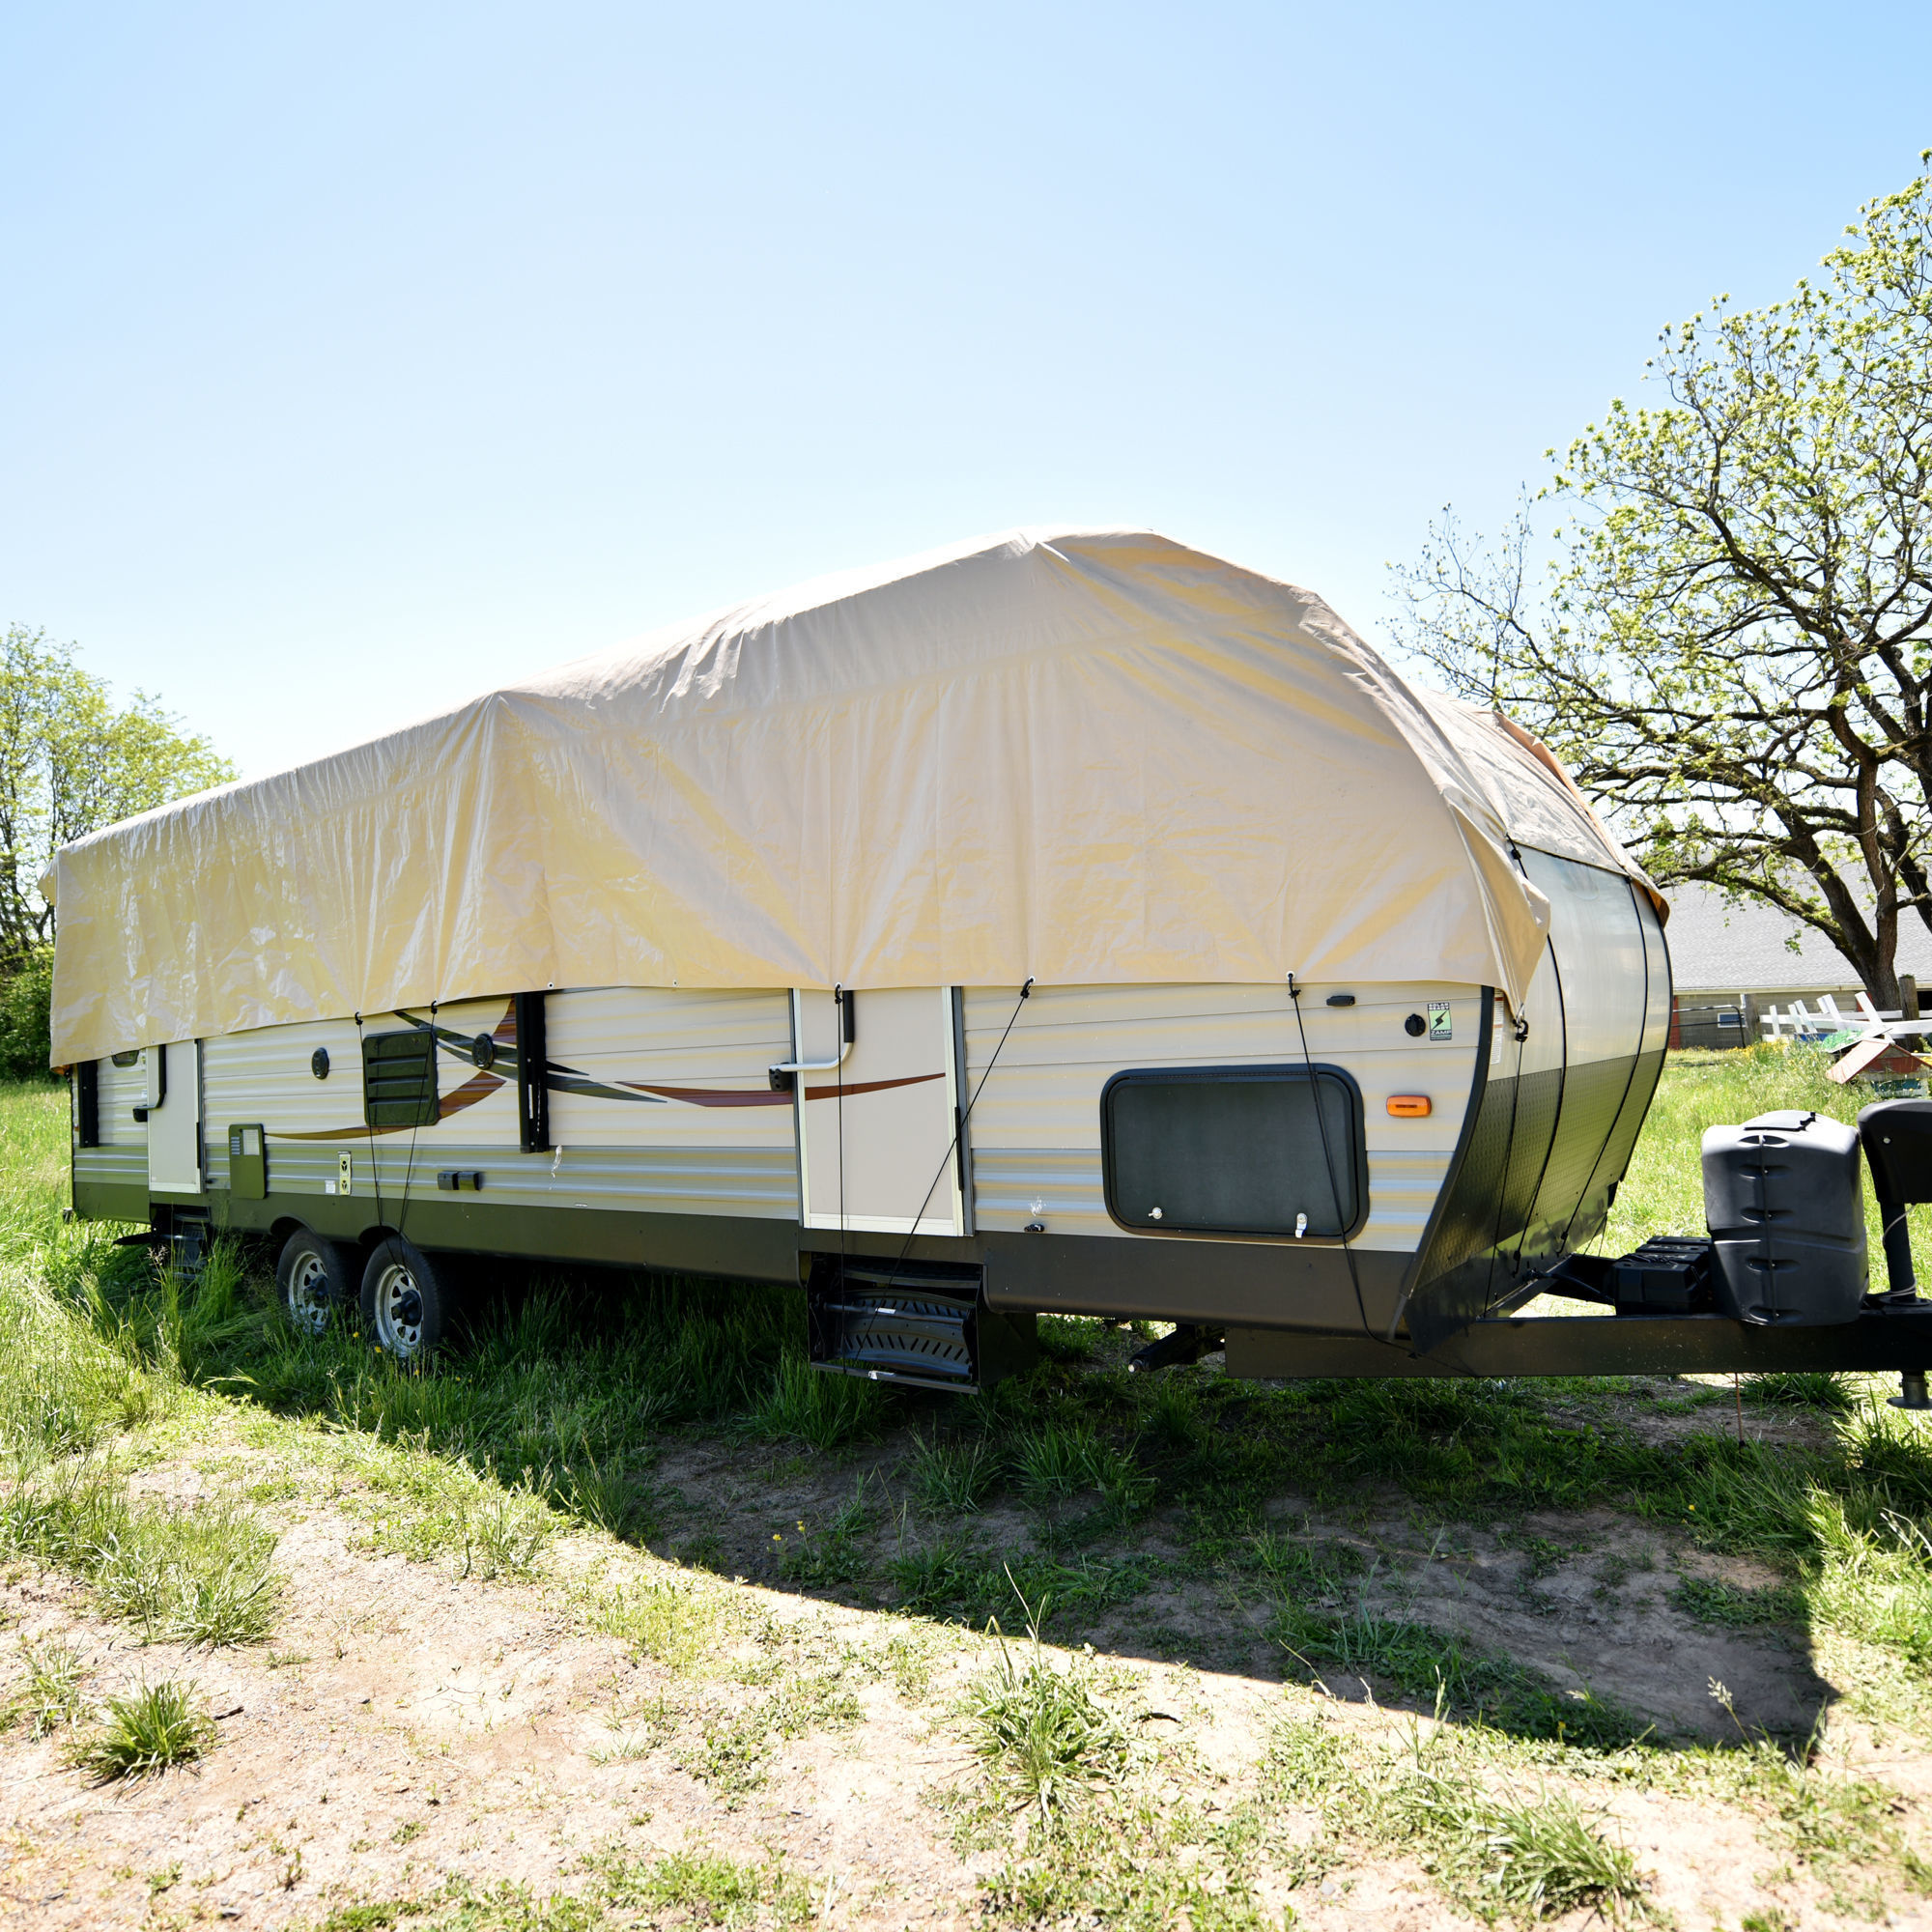
5. Winterizing Your RV: The Pink Fluid Mystery
Preparing your RV for winter is essential to prevent freezing and damage. This process, known as winterizing, involves draining the water system and adding a pink antifreeze solution. This fluid is safe for your RV’s pipes and plumbing but should not be consumed.
6. RV Rentals: A Convenient Option
If you’re not ready to commit to buying an RV, renting is a great way to try it out. Bayley’s Campground in Maine offers RV rentals, making it easy to explore without the hassle of owning your own camper.
7. Cortes Campers: A Unique Design
Cortes Campers are known for their innovative design, which is inspired by boats. This unique construction makes them easy to clean and maintain, as they can be simply sprayed out with a hose.
8. Popular RV Floor Plans
When choosing an RV, it’s important to consider your needs and preferences. Some of the most popular floor plan options include:
- Bunkhouse: Ideal for families with children, bunkhouse floor plans offer separate sleeping areas.
- Rear Kitchen: This layout places the kitchen at the back of the RV, providing a spacious living area.
- Rear Living Room: Similar to the rear kitchen, this floor plan features a large living area at the rear of the RV.
- Front Living Room: This layout places the living area at the front of the RV, offering panoramic views.
9. Camper Liquidators: A Secondhand Option
If you’re looking for a more affordable RV, Camper Liquidators is a great place to start. Pete’s RV Center specializes in selling used RVs that are over a certain age.
10. Class A, B, and C Motorhomes: Understanding the Differences
In addition to travel trailers and fifth wheels, there are also motorhomes. These RVs are self-contained vehicles that combine a living space with a driving compartment. There are three main types of motorhomes:
- Class A: The largest and most luxurious type of motorhome, offering all the comforts of a home on wheels.
- Class B: Smaller and more maneuverable than Class A motorhomes, often referred to as “van campers.”
- Class C: A mid-sized option that combines features of Class A and Class B motorhomes.
By understanding the different types of RVs and their unique features, you can choose the perfect one to suit your needs and lifestyle. Whether you’re a seasoned camper or a first-time RVer, there’s an RV out there waiting for you!